There’s something truly magical about the scent of a fresh cake baking in your own oven. I’ve spent years testing this easy Homemade Chocolate Cake recipe to ensure it works for every home cook. It’s simple. You don’t need a degree in pastry arts to master this one-bowl wonder.
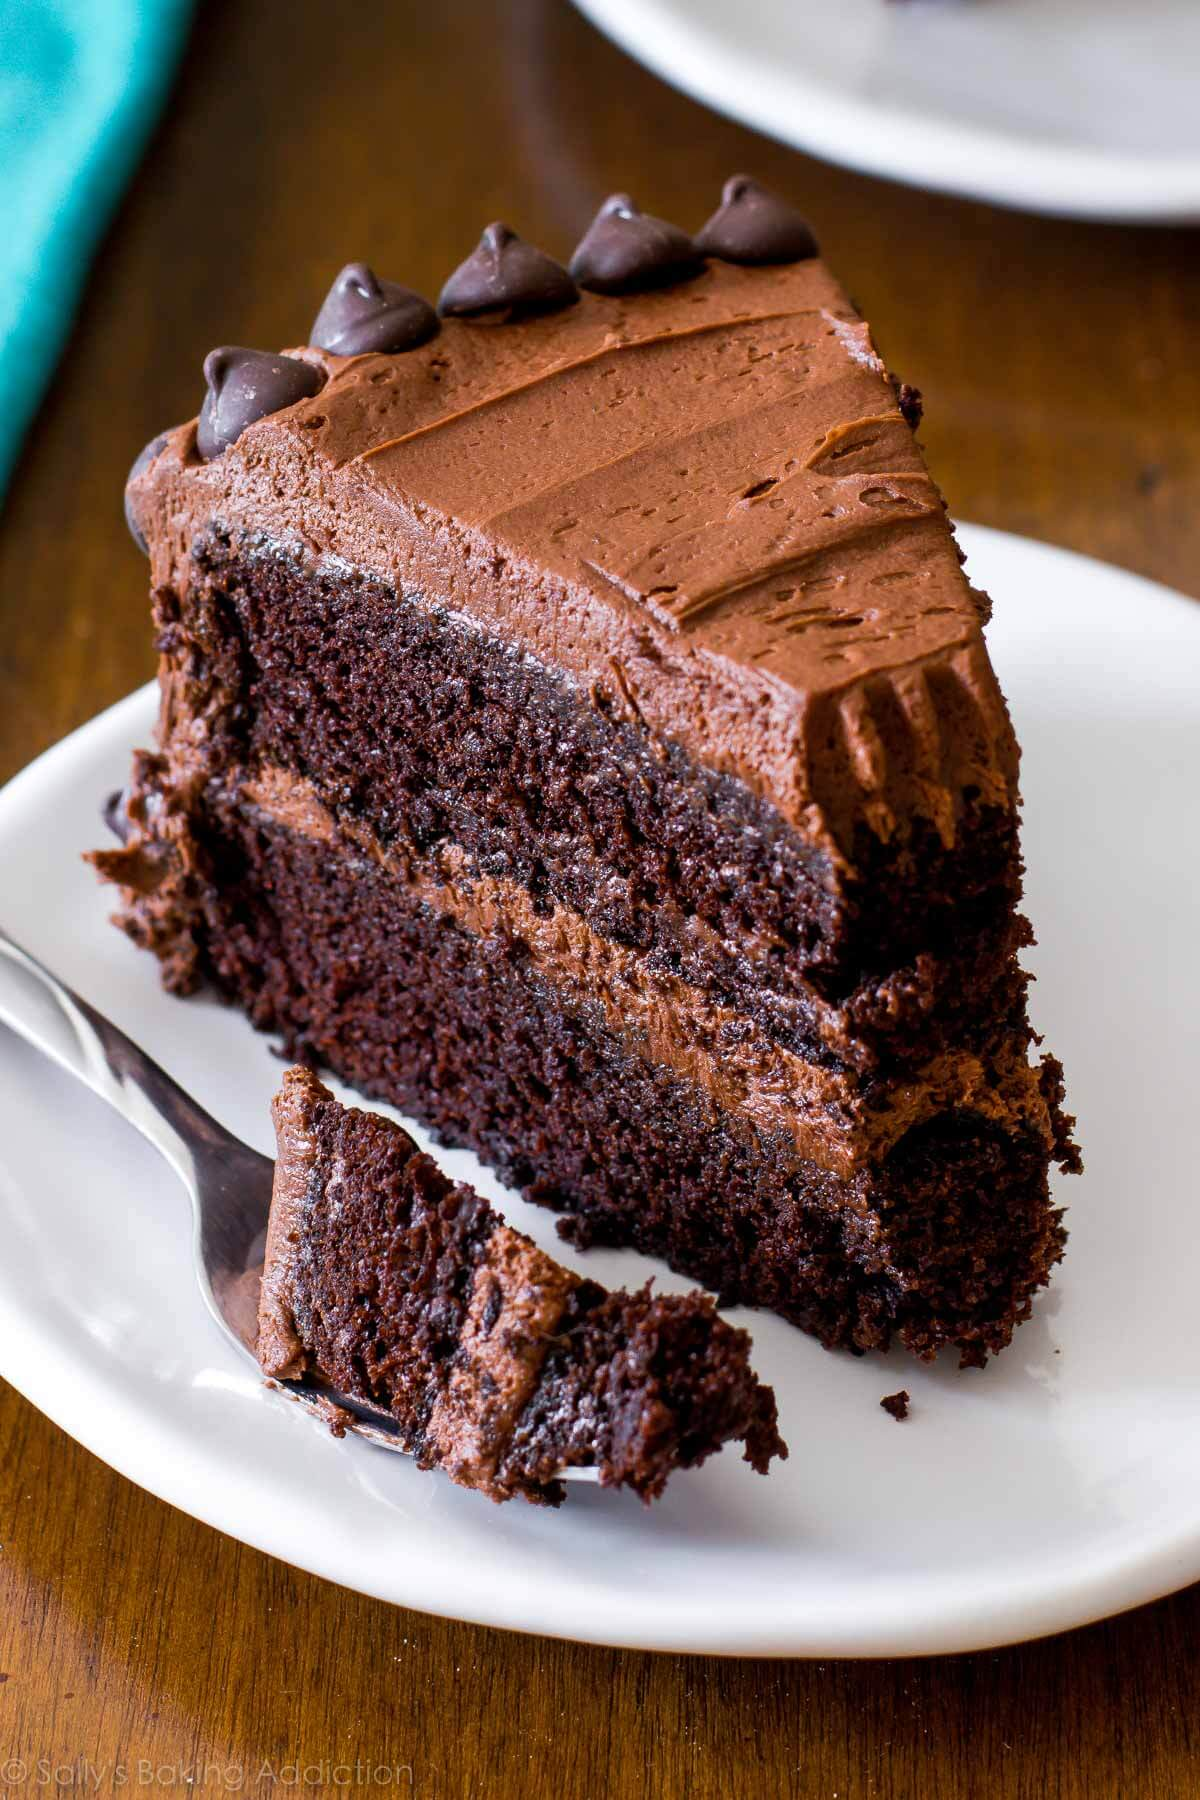
My family requests this homemade Homemade Chocolate Cake for every single holiday and birthday celebration. It’s much better than anything you’ll find in a cardboard box at the store. The texture is incredibly moist, and the chocolate flavor is deep and satisfying. You’ll love how quickly it comes together with basic pantry staples. It’s the best Homemade Chocolate Cake I’ve ever tasted.
Nutritional and Practical Overview
This recipe provides a balanced treat that fits perfectly into a weekend celebration or a special weeknight dessert. Each slice contains approximately 420 calories and provides 5 grams of protein to keep it satisfying. It’s beginner-safe because the method is straightforward and doesn’t require complex folding techniques. You’ll find it’s very budget-friendly since it uses standard ingredients like flour, sugar, and cocoa powder. Preparing this at home allows you to control the quality of the ingredients. It is a reliable staple for any kitchen.

Recipe Summary
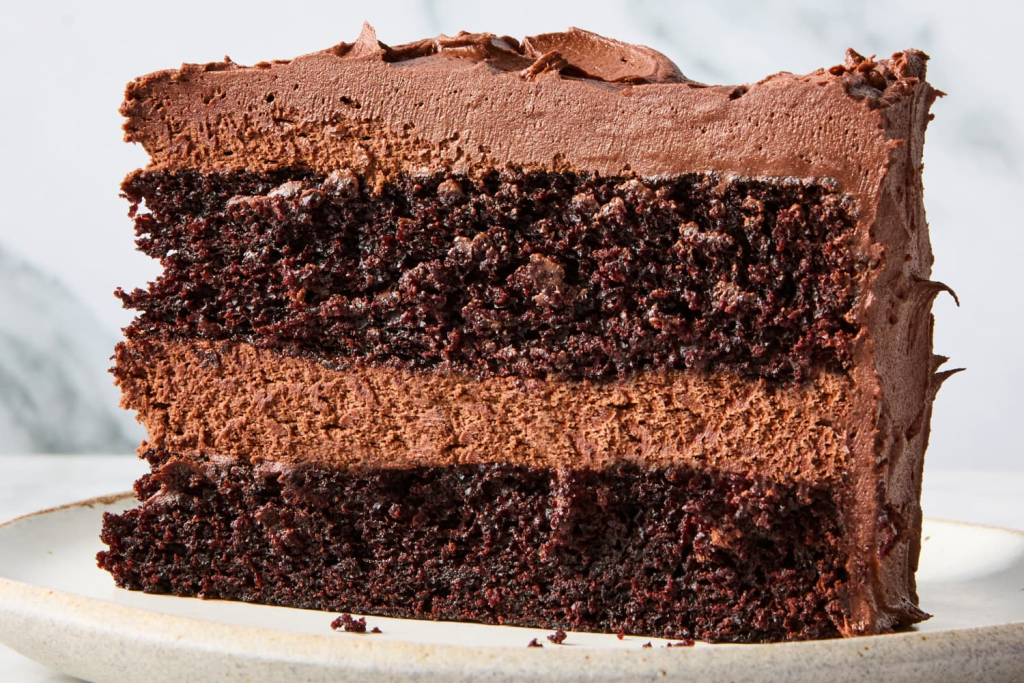
This classic dessert combines a tender crumb with a rich cocoa finish that pleases both kids and adults alike.
| Prep Time | Cook Time | Total Time | Servings | Calories (approx. per serving) | Difficulty Level |
|---|---|---|---|---|---|
| 15 Minutes | 35 Minutes | 50 Minutes | 12 Servings | 420 kcal | Beginner |
Ingredients
Gather these simple pantry items to create a dessert that tastes like it came from a professional bakery.
For the Cake Batter
| Ingredient | Amount | Possible Substitution |
|---|---|---|
| All-Purpose Flour | 2 cups | Gluten-free 1:1 baking flour |
| Granulated Sugar | 2 cups | Coconut sugar |
| Unsweetened Cocoa Powder | 3/4 cup | Cacao powder |
| Baking Powder | 2 teaspoons | None |
| Baking Soda | 1.5 teaspoons | None |
| Salt | 1 teaspoon | Sea salt |
| Eggs (Large) | 2 units | Flax eggs for vegan option |
| Whole Milk | 1 cup | Almond or soy milk |
| Vegetable Oil | 1/2 cup | Melted coconut oil |
| Vanilla Extract | 2 teaspoons | Vanilla bean paste |
| Boiling Water | 1 cup | Hot brewed coffee |
For the Chocolate Frosting
| Ingredient | Amount | Possible Substitution |
|---|---|---|
| Unsalted Butter | 1/2 cup | Vegan butter sticks |
| Cocoa Powder | 2/3 cup | None |
| Powdered Sugar | 3 cups | None |
| Milk | 1/3 cup | Heavy cream |
| Vanilla Extract | 1 teaspoon | None |
Instructions
Follow these clear steps to ensure your cake turns out light, airy, and perfectly chocolatey every time.
Step 1: Preheat and Prepare
Set your oven to 350 degrees Fahrenheit and grease two nine-inch round cake pans thoroughly. I like to use parchment paper rounds at the bottom of the pans to prevent any sticking issues later.
Step 2: Whisk Dry Ingredients
In a large mixing bowl, combine the flour, sugar, cocoa, baking powder, baking soda, and salt. Use a wire whisk to stir them together until the color is uniform and there are no large lumps.
Step 3: Incorporate Wet Ingredients
Add the eggs, milk, oil, and vanilla extract directly into the dry mixture. Beat the ingredients on medium speed for about two minutes until the batter looks smooth and thick. Don’t overmix it.
Step 4: The Secret Ingredient
Carefully stir in the boiling water by hand using a spatula or wooden spoon. The batter will be very thin and watery, but don’t worry because this is exactly how it should look for moisture.
Step 5: Bake the Layers
Pour the batter evenly into your prepared cake pans. Bake for 30 to 35 minutes or until a toothpick inserted in the center comes out clean. Your kitchen will start to smell amazing right now.
Step 6: Cool Completely
Remove the pans from the oven and let them sit for ten minutes. Carefully run a knife around the edges and flip the cakes onto wire racks to cool fully before you start frosting them.
Step 7: Prepare the Frosting
Cream the softened butter in a medium bowl, then gradually add the cocoa and powdered sugar. Alternate adding the milk and vanilla while beating until the frosting reaches a spreadable, creamy consistency.
Step 8: Assemble and Serve
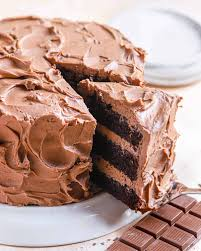
Place one cake layer on a plate and spread a generous layer of frosting on top. Stack the second layer and cover the top and sides with the remaining frosting before slicing and serving.
Nutritional Information
These values are estimates based on standard ingredients and a serving size of one-twelfth of the finished cake.
| Nutrient | Amount per Serving |
|---|---|
| Calories | 420 kcal |
| Protein | 5g |
| Carbohydrates | 58g |
| Fat | 22g |
| Saturated Fat | 8g |
| Fibre | 3g |
| Sugar | 35g |
| Sodium | 300mg |
Frequently Asked Questions
I’ve gathered the most common questions from my kitchen to help you achieve the best results on your first try.
Can I use butter instead of oil in the batter?
You can use melted butter, but oil generally produces a moister crumb that stays soft longer. Butter adds a nice flavor but the cake might be slightly denser. If you choose butter, ensure it is fully melted and cooled slightly before adding.
How do I store the leftovers?
Store this cake in an airtight container at room temperature for up to three days. For longer storage, you can keep it in the refrigerator for about a week. Just make sure it is tightly covered so it doesn’t dry out or absorb fridge odors.
Why do I need to use boiling water?
The boiling water “blooms” the cocoa powder, which intensifies the chocolate flavor significantly. It also reacts with the leavening agents to create a very tender, airy texture. This is the key secret to making the best Homemade Chocolate Cake possible.
Can I make this recipe into cupcakes?
Yes, this batter works perfectly for cupcakes. Simply line a muffin tin with paper liners and fill them about two-thirds full. Bake them at the same temperature for 18 to 22 minutes. You’ll get about 24 standard-sized cupcakes from this batch.
What if I don’t have buttermilk?
This recipe uses regular milk, but if you want more tang, you can make a quick substitute. Add one tablespoon of lemon juice or white vinegar to a cup of milk. Let it sit for five minutes before adding it to your batter.
Conclusion
Making a homemade Homemade Chocolate Cake is a rewarding experience that brings joy to any gathering. This recipe is foolproof, delicious, and guaranteed to impress your friends and family. I’ve found that it’s the most reliable way to satisfy a chocolate craving without spending hours in the kitchen. Once you taste that first bite of moist, rich cake, you’ll never go back to store-bought versions again. Please let me know how yours turned out in the comments below. Don’t forget to share this recipe with your fellow baking enthusiasts.
Can I use Dutch-processed cocoa powder instead of natural cocoa?
You can use Dutch-processed cocoa, but you might notice a slight difference in the rise. Natural cocoa is acidic and reacts with baking soda to help the cake lift. If you switch, the flavor will be darker and smoother, but the texture might be a bit more dense than the original version.
How do I prevent my cake from being too dry?
The biggest culprit for a dry cake is overbaking or using too much flour. Always measure your flour using the spoon-and-level method rather than scooping directly with the cup. Check the cake for doneness a few minutes early to ensure you don’t leave it in the heat for too long.
Can I bake this recipe in a 9×13 inch rectangular pan?
This batter fits perfectly into a standard 9×13 pan if you prefer a single-layer sheet cake. You will need to adjust the baking time to approximately 35 to 40 minutes. It is a great option for potlucks or casual family dinners where you want to serve slices directly from the pan.
Conclusion
There is nothing quite like a slice of this moist, rich dessert to make any occasion feel special. I’ve found that this recipe consistently delivers the best results for my family and friends. It’s a simple, honest cake that relies on quality pantry staples rather than complicated techniques. You don’t need to be an expert to create something that tastes this professional and decadent. I hope you enjoy every chocolatey bite of your creation. Please leave a comment below and let me know how your baking went. Sharing a photo of your finished masterpiece is a wonderful way to inspire other home cooks in our community.